Starrs Sourdough
  • Home
  • Subscribe
  • Recipes
    • Recipe testing
  • About
Picture

Sourdough pizza

1/17/2021

1 Comment

 
Picture
SOURDOUGH PIZZA
​
On pizza nights, rules fly out the window. Any shape, any sauce, any toppings are possible, without the need to compromise. You don’t like pineapple on your pizza? Then make your own.

I have struggled to settle on my optimal pizza recipe over the years. Recipe after recipe, formula after formula, they always ended up too slack, too stiff, too sour, not sour enough, too tough, too chewy, too delicate, or too plain ole finicky. Plus, the best recipe for a sizzling hot pizza oven is very different from the best recipe for a home oven, even with the best stones, steels, and peels at your disposal. 

This, my *ahem* pizza de resistance, came from a few months of recipe testing and crucial knowledge from Andrew Janjigian, who dedicated all of November to sharing his pizza tips in his phenomenal newsletter. The recipe is exceedingly flexible and utilitarian—while I wouldn’t use it for deep-dish (but why would you make deep-dish?), it could be used for just about any other pizza style you’re craving.
RECIPE YIELD: 2 x 450g (14") pizza crusts

RECIPE
115g levain
270g water
20g olive oil
240g AP flour
240g whole wheat flour (preferably a lower protein content variety, like Warthog, and not a high protein bread flour)
11g salt
​
LEVAIN
20g starter
30g AP flour
30g wheat flour
60g water
Picture
Pre-recipe note: The pizza dough should be prepared and refrigerated at least a day before baking. You can let it chill in the fridge for up to five days before stretching, topping, and baking, but note that the sourness and slackness of the dough will increase with time. I’ve found two days to be the sweet spot.

MIXING

1. About 5-6 hours before you plan to mix your dough, build your levain by mixing 20g of sourdough starter with 60g water, 30g all-purpose flour, and 30g wheat flour. Leave to ferment at room temperature.

2. When your levain has nearly tripled in size and has a domed surface with shiny, protruding bubbles, it’s ready for mixing.

3. Take 115g of your levain and mix with 270g water and 20g olive oil. Add 11g salt and 240g each of all-purpose flour and whole wheat flour, mixing until combined and homogeneous. If it feels too tough or dry, add water in tbsp increments until the dough comes together.
​4. Cover and leave the dough to rest at room temperature in a bulk ferment for four hours total, with two sets of folds to build its strength at the 1-hour and 3-hour marks. When folding the dough, you want to test its elasticity by picking up one side of the dough, stretching it out as far as you can without tearing, and then folding it back over the dough. Rotate and repeat three more times, one for each side, during each series of folds (note that the dough will stretch less and less as you rotate and repeat; that's normal!).

​5. The dough will go from shaggy and a tad sticky to smooth and extensible during the course of the bulk fermentation. An hour after the last fold, lightly flour a clean surface and turn out the dough onto it. Pat the dough down to release any air and gently stretch it into a rough rectangle before dividing into two. 

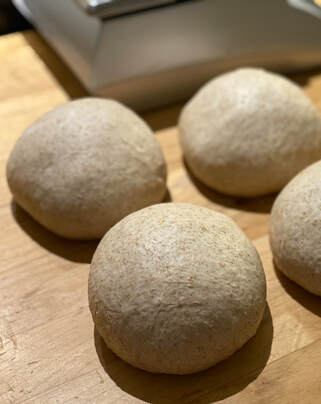
​6. Taking one piece of dough, stretch and fold each corner into the center, fold the entire package in half so that the smooth surface is facing up, and then shape into a ball. Repeat for the other piece.

​
7. Lightly spritz or roll the dough in olive oil, then cover (plastic, unfortunately, works best here) and refrigerate until you’re ready to bake!


BAKING
Picture
Folding
Picture
Shaping
1. One to two hours before you plan to shape and bake your ‘zas, take the dough balls out of the fridge to sit at room temperature. To prepare for the coming inferno from your oven, consider turning down your heat or turning up your A/C at this point.

2. If you’re using pizza stones or steels, place them in your oven and turn it to pretty much as hot as it can safely go (50 degrees less than its max, so often 450 - 500 degrees for a home oven) about an hour before baking. If you’re not using any of those accoutrements, you can wait to heat the oven until about 30 minutes before baking. If you have a not-so-nice baking sheet, you can place that in the oven to pre-heat with it.
3. Assemble your sauces, cheeses, and toppings and cut two pieces of parchment paper to be a bit larger than your desired pie size. The dough is usually just right for a thin-crust 14” or a slightly thicker 12” pie. If you will be baking on a pre-heated surface within your oven, place the parchment paper on an upside-down baking sheet or a peel. If not, you can simply place the parchment on a right-side-up baking sheet.

​4. Press and stretch your dough from the inside out, so that the center is an even thickness but the outer inch is thicker than the rest. Place on your prepped parchment paper and poke holes into the center of the dough with a fork to prevent air bubbles.


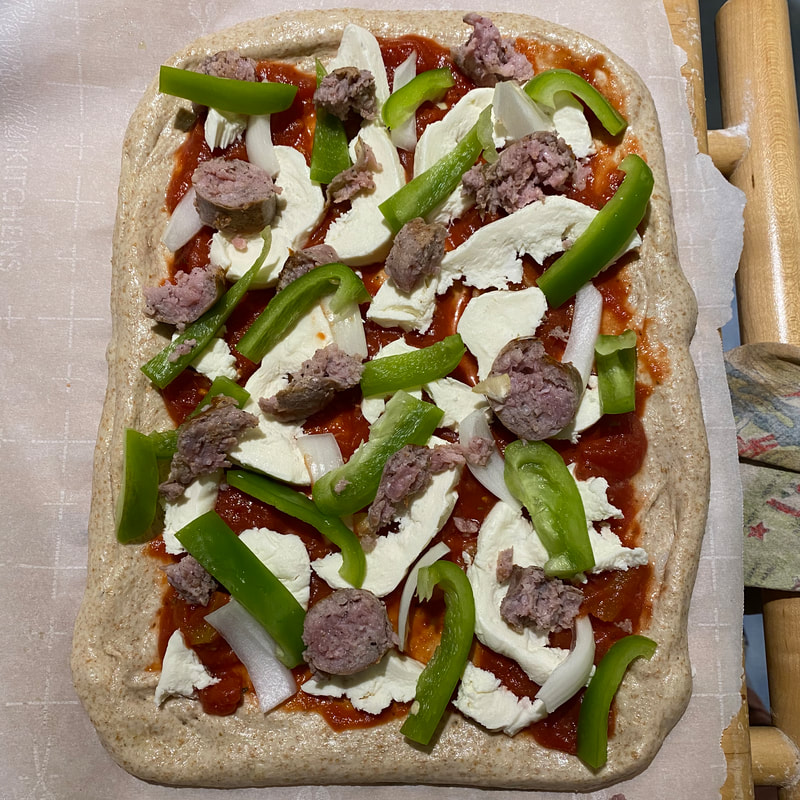
5. Top with your sauce, cheese, and toppings of choice. If using a pre-heated surface within your oven, slide the pizza (parchment and all) off the pan and onto the surface. If not, simply place the pizza on the pan into your oven.

6. Bake for 10 - 12 minutes or until the crust is just-blistered and bronzed. If you’re lucky enough to have a top-broiler on your home oven, turn it on for the final minute to get your cheese and toppings nice and toasty.

​7. Repeat for the other pizza and enjoy the fruits of your labor!
Picture
Pizza al taglio (pizza by the cut)
Picture
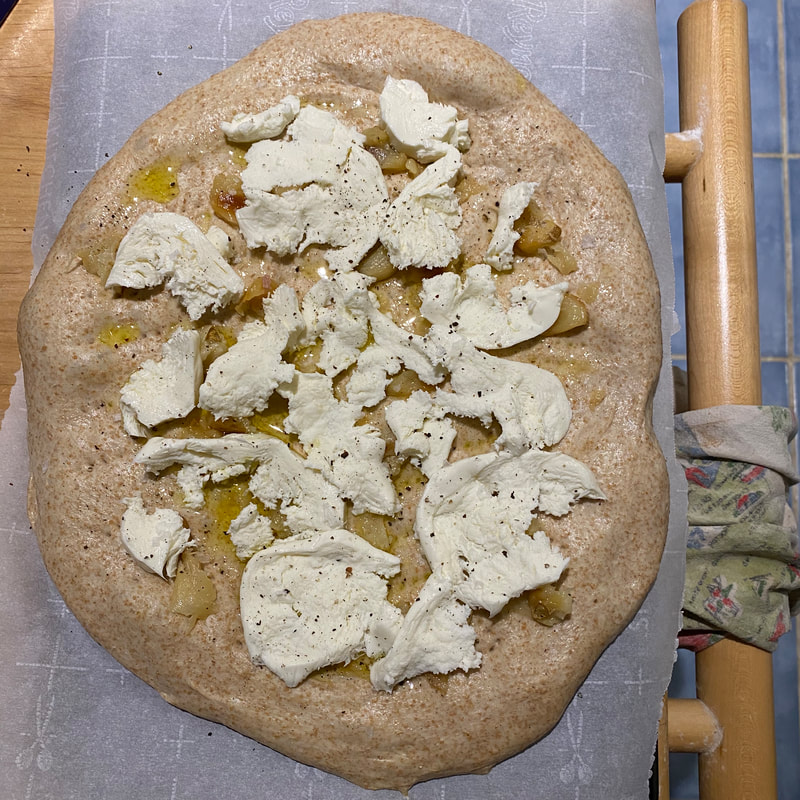
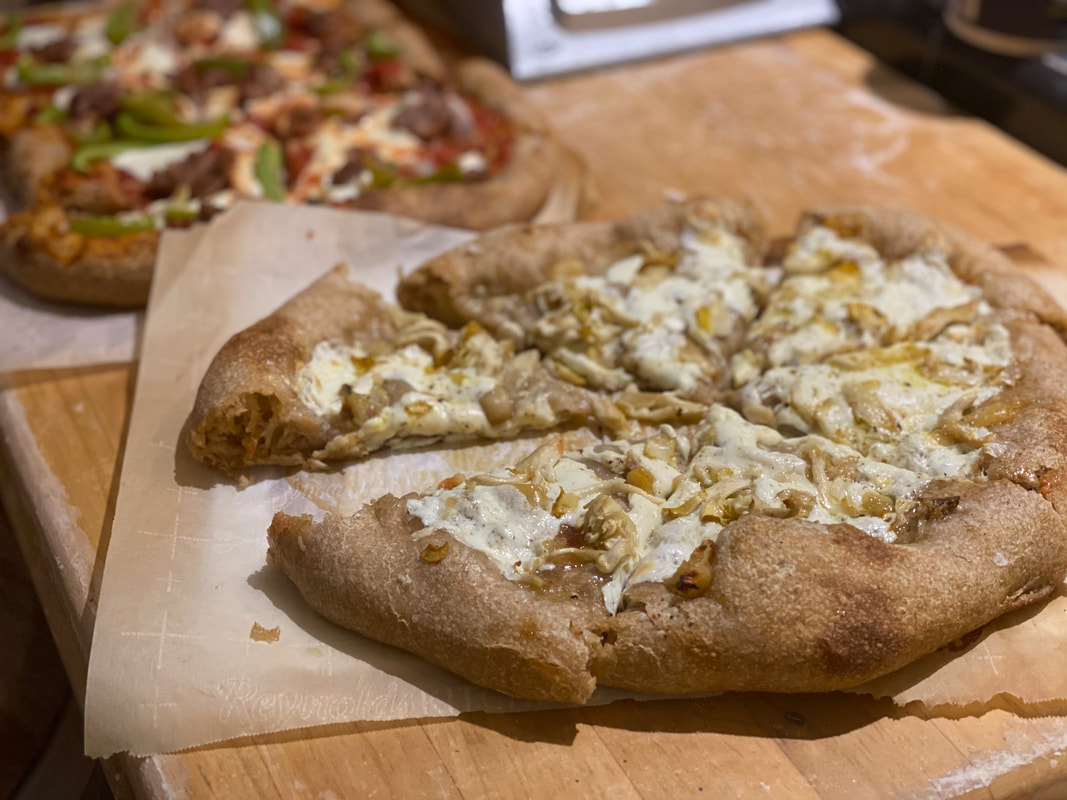
Pizza bianca (white pizza)
1 Comment
Blogger I Hardly Know Her link
5/14/2026 07:46:08 pm

This sounds like a delicious pizza recipe I would love to try.

Reply


Leave a Reply.

    Archives

    February 2021
    January 2021

    Categories

    All

    RSS Feed

Proudly powered by Weebly
  • Home
  • Subscribe
  • Recipes
    • Recipe testing
  • About