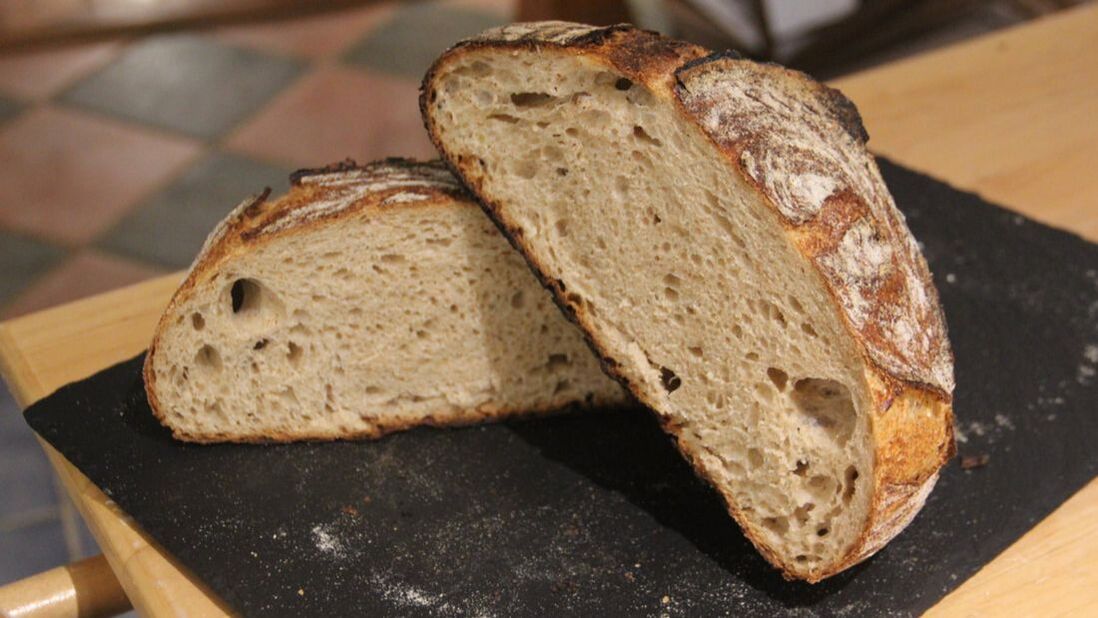
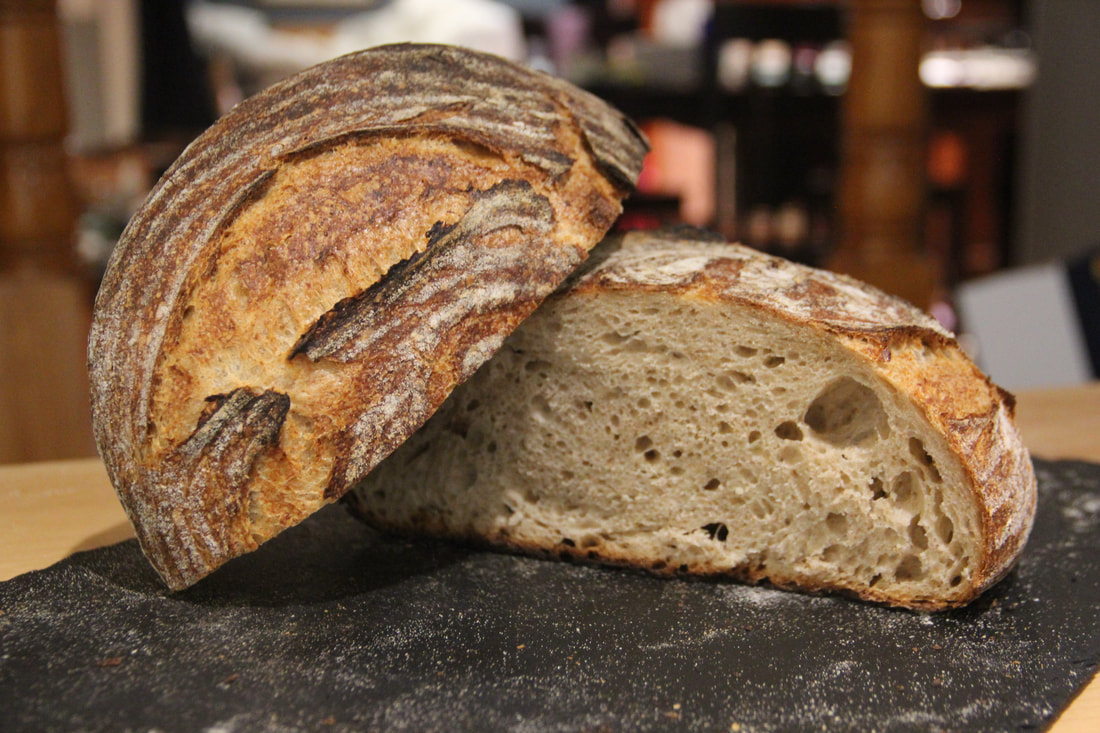
 BEGINNER SOURDOUGH RECIPE
This is a flexible sourdough recipe for beginning bakers. Feel free to change things around to fit your schedule, pantry, and tastes. You can put your dough in the fridge directly after the bulk fermentation step and shape it later, or bake it directly after shaping and proofing instead of giving it a cold fridge rest. You can substitute all all-purpose flour instead of a portion of whole wheat, or use a meld of grains, like einkorn, spelt, or rye, for the 140 grams of whole wheat that the recipe calls for. Most importantly, get up to your elbows in the dough and feel the magic of sourdough. Levain -20 grams active starter -80 grams water -80 grams bread or all purpose flour (unbleached) Final Dough -180 grams levain -235 grams water -235 grams bread or all purpose flour (unbleached) -140 grams wheat flour (or all purpose if that's all you have on hand) -9 grams salt PROCESS SAMPLE WEEKEND BAKING TIMETABLE -Thursday evening (between 8 and 10 p.m. - flexible): Take your starter out of the fridge, discard and feed it (keep 30-50 grams of starter and then mix in the same amount of flour and water). Leave the starter at room temperature. -Friday morning (between 8 and 10 a.m. - flexible): About 8 to 12 hours hours after your morning feeding, repeat the same discard and feeding process. -Friday evening (between 8 and 10 p.m. - flexible): About 8 to 12 hours hours after your evening feeding, mix your levain. Weigh out 80g of water (no need to be finicky - I use a 5g range) in a separate, mid-sized bowl. Remove 25g of mature starter from your main starter (it should be bubbly and sour-smelling), and put it in the 80g of water. It should float to the top or near the top. Break up the starter in the water, and then add in 80g of all purpose or bread flour. Mix well and leave at room temperature. You can store your remaining starter back in the fridge without feeding again. -Saturday morning (9 a.m.): In a wide bowl (or in a mixer's bowl if you have both a mixer and a dough hook), weigh out 235g of water. Your levain should have some nice air bubbles, doubled in size, and pass the float test. Scrape your levain into the bowl and break it up in the water. Weigh out your flour, using either 235g of all purpose/bread flour and 140g of wheat flour or simply 375g of all purpose/bread flour, and add to the bowl. Then weigh and add 9g of salt and mix together thoroughly, until all the flour is hydrated. You can perform a series of "slap and folds" in the bowl to give the dough some initial strength, but don't worry too much about kneading. Bulk fermentation (9:15 a.m. to 1:15 p.m.): Perform a series of folds in your bowl by grabbing the underside of the dough, stretching it out one way (but not allowing it to tear), and folding it over on itself. Rotate the bowl and do this in each direction for a total of four folds. Cover the bowl with a kitchen towel and leave it for 1 hour, and repeat the folds every hour, so at 9:15, 10:15, and 11:15, for a total of four sets of folds. You can set a timer to remind you, but, again, don't be too finicky. 5, 10, even 15 minutes early or late is fine. During the folds, the dough should transform from a shaggy and sticky mound to an extensible, smooth ball. If it still feels hard to handle at 11:15, add in an extra set of folds at 11:45 and/or double up on your folds, doing two folds in each direction for a total of eight folds. You can also do this if you forget a fold. But it is important to give your dough a rest from folding for the final hour, from 12:15 to 1:15, so that it's relaxed when you go to shape it. 1:15 p.m.: Plop your dough onto a lightly floured countertop. Pick up the edges and make sure they're not sticking to the counter - if so, remove the stuck bits and reflour. Gently press down on the dough, but not so hard that you completely de-gas it. Stretch out a corner of the dough and fold it into the center. Repeat with each corner, until you have a little package of dough. Flip it over and let it rest for 15 minutes. This is called the "preshape." 1:30 p.m.: Return to your preshape for final shaping. Turn the dough over, so that the smooth, floured side is again facing down. Fold the corners in again, and flip the dough over again so that the sealed ends are on the bottom and the smooth side is on the top. With your hands cupping under the farside of the dough, pull the ball back toward you, creating surface tension on the boule. Rotate the dough and repeat until the dough is taut, but not going so far that it tears. If you have a banneton, lightly flour it and place the dough into it with the smooth side facing down. If you do not, then put a sheet of parchment paper into a medium sized bowl and lightly flour it, making sure that you have extra parchment sticking up on the sides of the bowl (this will make the transfer for baking easier!). Place the dough into the parchment-lined bowl with the smooth side facing up. Let rest and rise on the counter for 30 minutes, then store in the fridge for the night. Sunday (noon): Time to bake! I usually wait until the evening, to give it a longer time in the fridge, but you could speed it up to bake in the morning if needed. Preheat your oven to 475 for 30 minutes. After 30 minutes, place an oven safe pot, Dutch oven, or combo cooker in the oven to preheat for the final 30 minutes, with the lid on. If you don’t have a sufficient oven safe receptacle, you can put a pot of water on to boil and place a cast iron pan or other high-heat stable pan (not glass) on the bottom rack of your oven. Remove your dough from the fridge and your Dutch oven from the oven. Take off the lid and, if you have a banneton, turn it over to let the bread slide out onto the bottom of the pot. Score the top of the loaf with a quick, decisive slash, using either a sharp knife or a razor blade. If you don’t have a banneton, score your bread and then, wearing oven mitts, grasp the sides of the parchment paper with your dough on it and transfer it into your pot. Place the lid on and put it in the oven. Without a pot, simply place your scored bread on a baking sheet (with parchment or silicon under it so that it doesn’t stick) and put it in the oven on the second rack. Pour the boiling water into the cast iron pan to create steam. Bake for 20 minutes, and then either remove the lid of your pot or remove the steam-making pan. Bake for 10 minutes, rotate the loaf 180 degrees, and then bake for 10 to 15 more minutes, until the crust is golden and the bottom sounds hollow when tapped. If you have a thermometer, the bread should have a temperature of 200. Remove the bread from the pot to cool, waiting at least two hours before slicing!
0 Comments
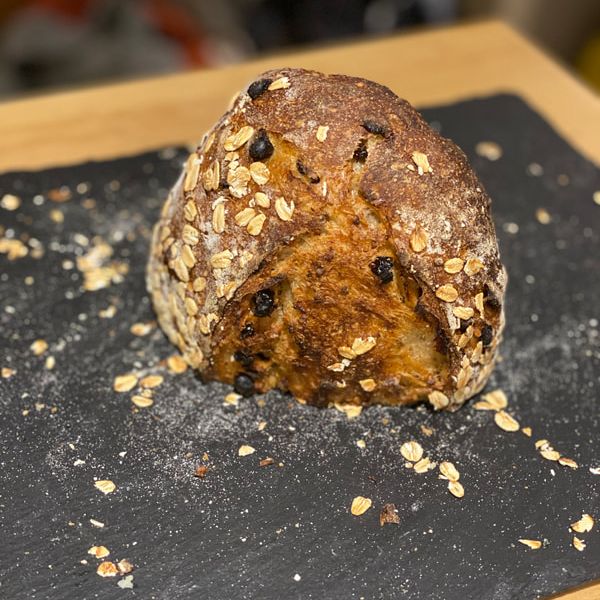
 Part of sourdough's magic is its shelf stability and long-last freshness after it's pulled from the oven. So once you've baked or bought a loaf of sourdough, you can maximize its freshness with these storage techniques. Up to 2 days: On the counter.
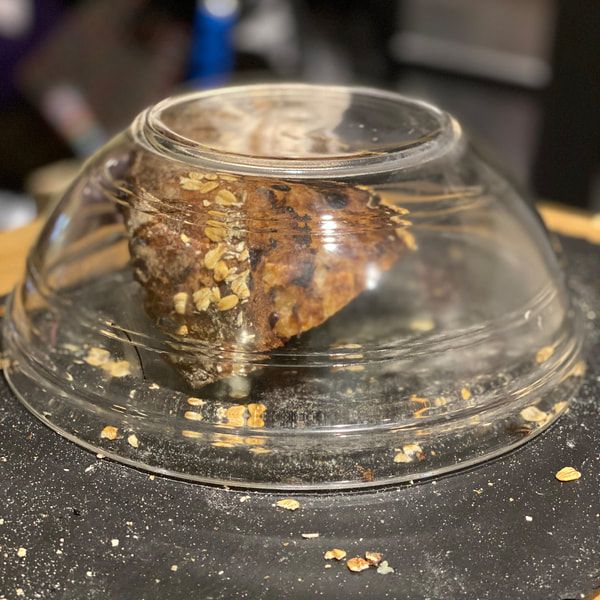
Up to 5 days: Under a bowl
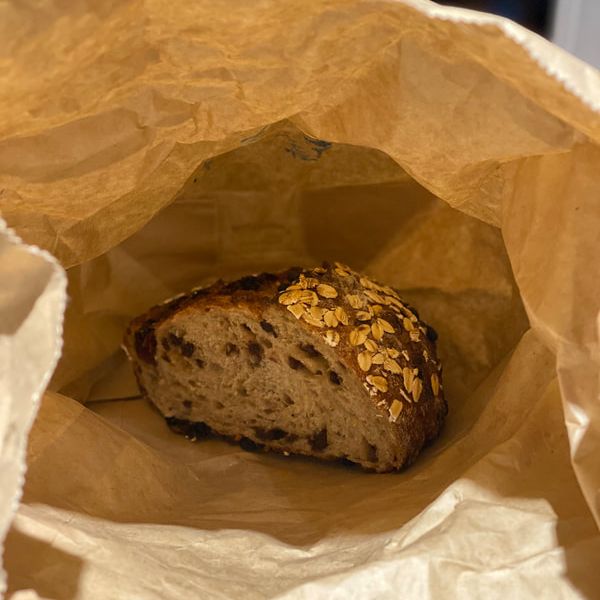
Up to 5 days: In a bag or breadbox
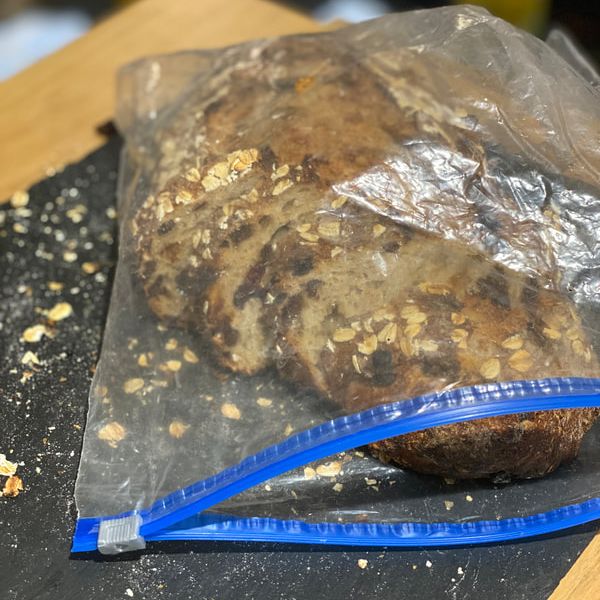
Paper or cloth bags are more breathable alternatives to plastic. You could even wrap your bread in foil, a tea towel, or beeswax wraps. And while plastic bags aren't usually a good way to store your bread, they may come in handy in certain drier climates, where you need to retain as much moisture as you can. But in D.C., and especially during D.C. summers, plastic often traps too much humidity. Bread boxes can be very handy if you're an everyday bread eater with plenty of counter space. They come in endless different sizes and materials, and can store multiple whole or half loaves. Up to 3 months: In the freezer
Bread storage don'ts
Saving stale bread
There will come a day when, despite your best efforts, you leave a loaf out too long. But there are still many alternatives to the garbage bin or the compost heap. Bread crumbs, garlic bread, croutons, crisps, French toast, and bread pudding are all excellent projects for stale sourdough. |
Guides

AuthorI started baking sourdough bread in 2016, and was immediately hooked. Since then, I've worked as a home baker, professional baker, and cottage baker, serving up naturally leavened breads and pastries to communities in Washington, D.C., and Alaska, where I'm now based.
|